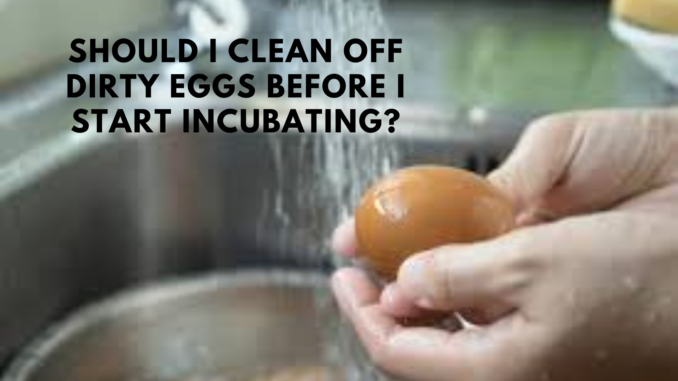
When it comes to incubating eggs, cleanliness is key to ensuring a successful hatch. But what about eggs that arrive with a bit of dirt or debris on them? Should you clean these eggs before placing them in the incubator? This question is more nuanced than it might seem, and the answer depends on several factors, including the type of dirt, the source of the eggs, and the specific practices of your incubating process. Let’s dive into the details to help you make the best decision for your incubation needs.
Why Egg Cleanliness Matters
Impact on Incubation Success
The cleanliness of eggs can significantly impact the success of the incubation process. Dirty eggs can harbor bacteria or mold, which may contaminate the incubator environment and potentially harm developing embryos. However, cleaning eggs improperly can also lead to issues, such as damaging the eggs’ protective coating.
Understanding the Egg’s Protective Coating
Eggs have a natural protective coating called the “bloom” or “cuticle” that helps prevent bacteria from penetrating the shell. This coating is crucial for maintaining the egg’s freshness and protecting the developing embryo. Cleaning eggs can remove this coating, making the eggs more vulnerable to contamination.
When to Clean Dirty Eggs
Assessing the Type of Dirt
The first step is to evaluate the type of dirt or debris on the eggs. If the dirt is merely superficial and dry, it may not pose a significant risk. However, if the dirt is wet or sticky, it could be a sign of a more serious issue and may need more attention.
If the Dirt is Dry and Minimal
For dry, minimal dirt, it is generally advisable to avoid washing the eggs. The best approach is to use a dry, soft brush or cloth to gently remove loose debris. This method minimizes the risk of damaging the protective coating while still cleaning the eggs.
If the Dirt is Wet or Sticky
For wet or sticky dirt, cleaning becomes more important. In such cases, gently wash the eggs using warm water and a mild detergent. Avoid soaking the eggs, as prolonged exposure to water can weaken the shell and remove essential protective layers. After washing, dry the eggs thoroughly with a clean towel to prevent any moisture from lingering.
How to Clean Eggs Properly
Preparation
Before cleaning, gather the necessary supplies, including warm water, a mild detergent (if needed), and clean, dry towels. Ensure that your hands and any tools used are clean to avoid introducing additional contaminants.
Step-by-Step Cleaning Process
- Preheat Water: Use warm water, not hot, to avoid shocking the eggs. The water temperature should be slightly warmer than the eggs.
- Gentle Washing: Submerge the eggs briefly in the warm water. Use a soft brush or cloth to gently scrub away any dirt or debris. Be careful not to apply too much pressure, which can damage the shell.
- Rinse and Dry: Rinse the eggs with clean, warm water to remove any soap residue. Pat the eggs dry with a clean, dry towel. Ensure they are completely dry before placing them in the incubator.
- Disinfect if Necessary: For heavily soiled eggs or if you suspect contamination, consider using a food-safe disinfectant. Follow the manufacturer’s instructions to ensure safety and effectiveness.
Preventing Dirty Eggs
Improving Egg Collection Practices
To reduce the likelihood of dealing with dirty eggs, practice good egg collection habits. Collect eggs regularly to prevent them from becoming excessively dirty or contaminated. Store eggs in clean, dry conditions until they are ready for incubation.
Maintaining Clean Nesting Areas
Keep nesting boxes and the surrounding areas clean to minimize the chance of eggs getting dirty. Regularly clean and disinfect these areas to maintain a hygienic environment for your birds.
Conclusion
Deciding whether to clean dirty eggs before incubation involves balancing the need to remove contaminants with the risk of damaging the eggs’ protective coating. For minimal, dry dirt, a gentle brushing is often sufficient. For wet or sticky dirt, carefully washing and drying the eggs is advisable. By following proper cleaning techniques and maintaining good collection and storage practices, you can help ensure a successful incubation process and healthy hatchlings.
FAQs
1. Is it always necessary to clean dirty eggs before incubating?
No, it’s not always necessary. For dry, minimal dirt, a gentle brushing is often sufficient. For wet or sticky dirt, cleaning is recommended to prevent potential contamination.
2. Can washing eggs remove their protective coating?
Yes, washing can remove the egg’s natural protective coating, which is why it’s important to use a gentle method and avoid soaking the eggs.
3. How can I prevent eggs from getting dirty in the first place?
Regularly collect eggs and maintain clean nesting boxes and surroundings to prevent excessive dirt and contamination.
4. What should I use to clean eggs if they are very dirty?
Use warm water and a mild detergent if necessary, and ensure the eggs are thoroughly dried before incubating.
5. Are there any risks associated with cleaning eggs before incubation?
Improper cleaning methods can damage the eggshell or remove the protective coating, increasing the risk of contamination. It’s important to clean eggs carefully and minimize exposure to moisture.
Leave a Reply